(I usually use spelt, but I sometimes used wheat too. Buy organic if possible.)
Levain: 50g established starter
100g whole grain flour
100g water
Method: Mix the starter with the water, then add the flour and make sure there’s no pockets of dry flour. Allow to sit for a couple of hours or longer at room temperature (our kitchen gets to 21 – 22°C, though 23°C would be ideal) until the mix is all bubbly and has doubled in volume.
Flour mix: 500g whole grain flour
400 – 425g water
Mixing: Mix the flour with water and let sit for an hour or so before you mix in the levain. Once the hour has passed (mind you, this is approximate timing), add salt (14g or so) and the levain. Mix well (an indication would be that it starts to come off your hands easily) and shape it like a loose ball. Let sit for 30 minutes, then start the stretch and fold routine which you will do 5 times every 20-30 minutes.
Stretch and fold: Wet your hands (to prevent sticking) and lift the dough with both hands and stretch it but be careful not to break it. Fold over and rotate counterclockwise (or clockwise); do it three of four times then let sit for 20 -30 minutes. Repeat four more times.
Once you’re done with the stretch and fold routine, shape it like a loose ball, cover the bowl with a clean cloth and let sit for a couple of hours for the next stage called bulk fermentation. The dough should be at least one third larger in size, and you should see bubbles on the surface.
Pre-shaping. Spread some flour on the counter or on a large wooden board and gently lift the dough from the bowl. Lift/stretch the dough and fold over towards the middle, then do the same with the other half. Turn the dough at a 90-degree angle and do the stretch and fold to the middle again. Flip the dough upside down and tuck the edge in by going around with the dough scraper. Shape it again like a loose ball, sprinkle a bit of flour over and cover with the clean cloth.
Cold proofing. Let sit for another hour before lifting it into the banneton proofing basket (sprinkle some flour to prevent sticking). Cover it with a plastic bag and put it in the fridge for at least 12h. This is the cold proofing stage, which I extend to 24 or even 36h hours. It adds a nice tanginess to the bread, and also makes it more digestible.
Baking: Finally, there it is. Preheat the oven to 475F and place a Dutch oven on the middle rack, lid on. Allow it to get hot, which means you have to be super careful when you handle it. A pot that hot can do some serious damage!
Take the banneton out of the fridge, remove the plastic bag and place a piece of parchment paper over the dough. Place a cutting board over the parchment paper and turn the whole contraption (banneton with dough, paper and cutting board) upside down so that the dough rests on top of the parchment paper, which is on the wooden board.
Take the Dutch oven out of the oven and remove the lid. Lift the dough with the parchment paper, then place it in the Dutch oven and make some slits on the top (you can use a razor blade or even kitchen scissors). Place the lid on and put the pot in the oven, setting the timer for 25 minutes. When the minutes are up, remove the lid but keep the oven temperature at 475F. Set the timer for another 25 minutes and get ready for the delicious smell of freshly baked bread.
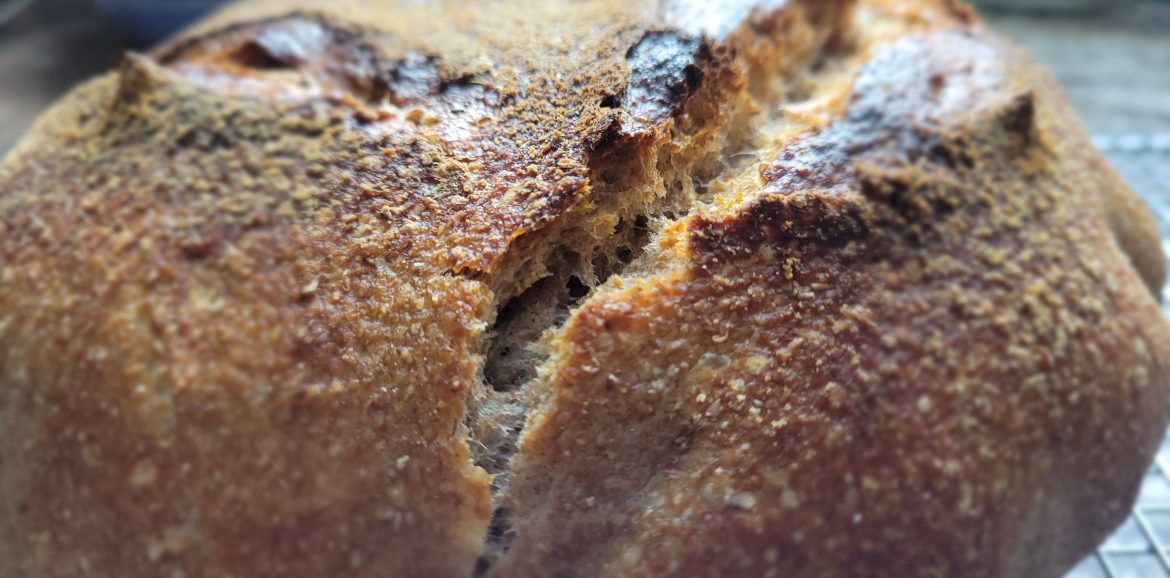
When the 25 minutes are up, take out the pot and lift the bread, placing it on a cooling rack. If you tap the bottom, there should be a hollow sound. Also, while you’re at it, listen to the soft crackling sound that tells you about the goodness you just made. Let it cool down completely before you dive in. It’s worth it!
Get a bowl of soup and enjoy!